
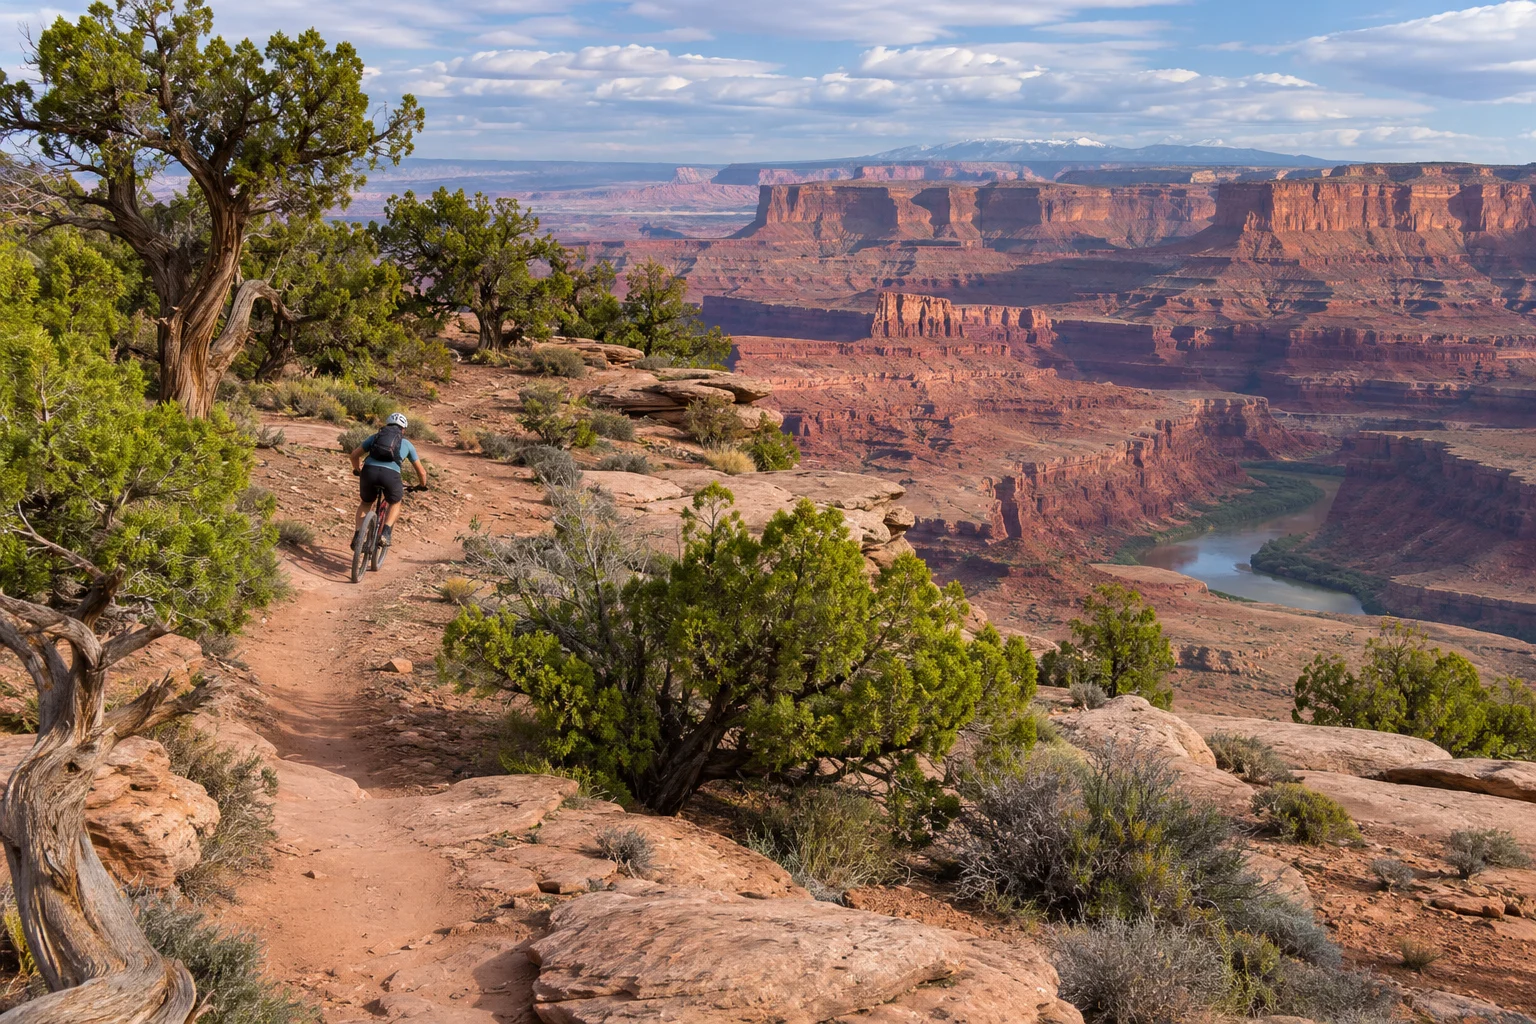
Dead Horse Point State Park gives mountain bikers a chance to ride above canyon country without choosing one of Moab’s most demanding routes. The Intrepid Trail System is a network of mixed-use trails, so the ride can be adjusted to your experience, current conditions and the time you want to spend outdoors. Begin with the park map and a realistic idea of how your group handles uneven rock and exposed terrain. Save the main overlook for a separate stop. That way the ride can end as soon as it makes sense, and the day still includes the canyon view that brought you to the park.
Choose the first Intrepid ride from the park map
| Decision | How to plan it |
|---|---|
| Before renting | Show the shop your intended loop and ask about surface, obstacles and where you can shorten it. Confirm how you will carry water and repair supplies. |
| At the trailhead | Identify your first return junction on the map before setting out. Use the park’s current conditions to decide whether to start. |
| If the group wants different distances | Agree on a return time and a meeting point at the trailhead. Keep the overlook as a separate stop. |
Check the operator’s or destination’s visitor information.
Look at the trail map before renting a bike
Start with the official mixed-use trail page. Identify the trailhead and trace a short loop or return route that avoids harder sections. Ask park staff about the difficulty of the particular trails you plan to ride and whether weather or maintenance has changed them. Trail ratings describe usual conditions. Washouts, sand and loose material can change what a ride feels like. Utah State Parks publishes current conditions, including updates about damage that may affect routes such as Big Chief. Use the latest notice together with the map. Check again at the visitor center if the route is unfamiliar or if a storm has passed through.
A short loop gives you time to learn how the ground feels and decide whether to add distance later. Check whether the loop runs near exposed edges and identify any junction where you could return early. A rider who is comfortable on paved paths may still want a short route here, where the surface changes and stopping requires attention. If some people want a longer ride, arrange a meeting place and time rather than asking everyone to continue together. The visitor center area or another clearly named location can make it easy for the group to regroup.
Decide whether to rent in Moab or near the trailhead
Compare the locations of the rental provider and the park. A shop in Moab may give you more time to select equipment, but you need a compatible way to move the bikes and may have to return them before the shop closes. A rental nearer the trailhead can simplify transport if it operates on your dates and has a bike that fits. Confirm what comes with the rental, including a helmet and the tools the provider expects you to carry. Ask how it handles a mechanical issue and who to call if you cannot ride back. Bring the contact details even if service may be limited.
Tell the rental staff where you intend to ride and describe your recent experience. Ask to test the brakes and practice shifting where the provider permits it. A saddle or handlebar adjustment can improve control and confidence on an unfamiliar bike. If your group is considering an electric bike, verify current park rules, allowed classes and trails directly before booking. The rental desk can explain the equipment, while the land manager can tell you where you may use it. Make both checks before choosing a bike for a specific route.
Plan water, weather and time away from the car
Check the park’s facilities and bring the water you need for the ride and any time you will spend at viewpoints. Dry air, sun and wind can affect how quickly you tire, especially when you are learning to ride the terrain. Choose a start time that gives you room to shorten the ride if conditions change. Tell someone where you are going and when you expect to return. Download or carry the current map and know which intersections take you back. Avoid assuming that a phone will always have service or that someone else on the trail will have the same route in mind.
Follow posted directions when there is rain, lightning, heat or damage to the surface. Turn back when a change in weather or a mechanical issue makes the next section a poor choice. Check with the park before driving out if conditions are uncertain. Carry a warm layer if the forecast changes during the day and plan a stop in the shade when you can. Give yourself time to eat and drink before going to the overlook. A shorter ride with enough energy for the rest of the day is a sensible first visit.
How to handle a mixed-use trail
Follow the park’s right-of-way guidance and slow down when you approach people or a blind corner. Ride only on designated routes, and leave space for others to pass safely. If you stop to consult the map, choose a place where the group and bikes can stand without blocking the trail or damaging the surrounding ground. At a junction, check that everyone knows the direction. A rider going ahead should wait where the route is obvious. A trail that feels easy to one person may take another much longer, especially where they choose to dismount.
If a feature looks difficult, stop in a safe place and decide whether to walk the bike or use a route that avoids it. Let the least experienced rider make their own decision about a section. It can be useful to keep the first part of the ride close to the trailhead, where you can check fit, braking and comfort without making the group commit to the entire loop. Use the map to set a turnaround time and check it before adding an extension. The return journey still needs attention, even when the group has already seen the view it came for.
Combine the ride with the overlook
Plan the overlook as a separate outing using the park’s own directions. Allow time for parking and the walk to the viewpoint. Someone who does not ride can use that portion of the visit to see the park, then meet the riders before lunch or the drive back to Moab. Follow railings and posted closures at viewpoints. On a windy day, a shorter lookout stop may be more comfortable than trying to spend the whole afternoon outside. If you are visiting another park afterward, account for drive time and check its entrance and access rules separately.
For a half-day, begin with the short ride, return to the trailhead and decide whether to add another segment. Then secure the bikes before visiting the overlook. If conditions make riding unsuitable, use the park map to choose an open walking route or postpone the ride. The most useful bookings are a suitable bike, a clear start and return location, and an itinerary that leaves room for the conditions you actually encounter. Dead Horse Point rewards a first ride that keeps the technical demands modest and gives everyone time to look around.
Choose a ride length that fits the whole day
A loop measured in a few miles can take much longer than the same distance on a paved bike path. Put time on the calendar for checking in, fitting equipment, reaching the park and returning the bikes. If you are arriving from a long drive, consider moving the ride to the following morning. This is particularly useful when a rental has a fixed return time and the group wants to spend a little longer at the canyon overlook.


