
DESTINATION GUIDE · NATIONAL PARKS
Zion and Bryce Canyon: A Five-Day Southwest Itinerary
Travel in the USA Editorial · Reviewed November 3, 2026 · 1185 words
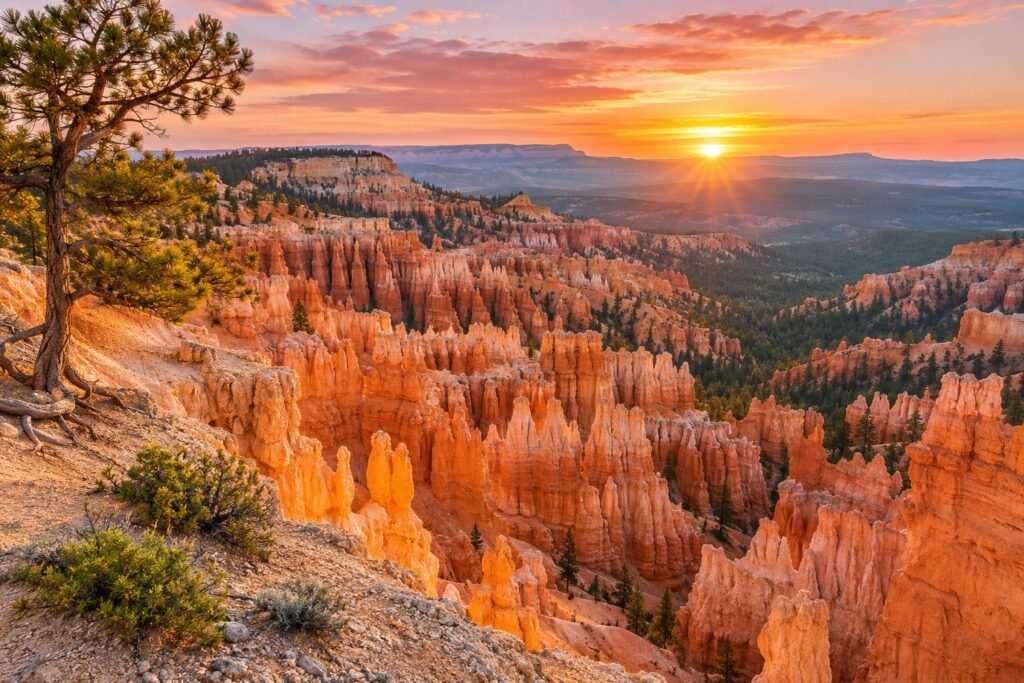
Zion and Bryce Canyon make a compelling pairing because they offer different ways to experience the Southwest. A five-day itinerary allows time to settle into each area, choose walks carefully, and enjoy the landscape without a daily hotel change. It also gives you flexibility when weather, shuttle operations, or trail conditions affect the plan. The schedule below is designed for a first visit with ordinary sightseeing and optional hiking, not a requirement to complete the region’s most demanding routes.
Build the route around two overnight bases
Use one base for Zion and a second for Bryce Canyon. Compare the actual journey from each property to the part of the park you want to explore. In the Zion area, think about how you will reach the relevant entrance and shuttle connection. Near Bryce, consider the convenience of an early start and the practical options for dinner. A room’s destination label is less useful than its address and access arrangements.
Book the main overnight stays before adding optional tours. Choose cancellation terms that leave some room for changing conditions. If you are starting or finishing in Las Vegas or another gateway, treat the airport transfer as a separate travel block. Do not build the last day around a demanding hike followed by a long drive and a flight. A good itinerary protects the return journey as carefully as the sightseeing.
Day 1: arrive in the Zion area and keep it light
Make arrival day an orientation day. Check current park information, understand the transport arrangements, and choose a short outing suitable for the time and weather. A relaxed first evening lets you prepare for the full day ahead. If you have driven a long way or arrived after a flight, resist the temptation to start a strenuous trail simply to make the day feel productive.
Decide what your group actually wants from Zion: a canyon introduction, photography, family walks, or more substantial hiking. Different priorities produce different days. Look at route surfaces, exposure, elevation change, and return options, not just distance. Travelers who prefer easier activities can have a complete visit without attempting any exposed route. The most useful first decision is identifying what everyone will enjoy comfortably together.
Days 2–3: explore Zion with one main focus each day
Give each full Zion day one main objective and an optional second stop. On the first, concentrate on a canyon introduction and a manageable walk. On the second, choose a different experience that fits current conditions. This structure gives you room to move outdoor plans around if the forecast changes. It also makes it easier to enjoy a longer lunch or return early when someone needs a break.
The NPS planning page states that ordinary park entry and shuttle use do not require a reservation under the arrangements reviewed for this guide. An entrance fee or valid pass still applies, and specific activities can have separate requirements. [1] Consult the current shuttle information for your actual date rather than assuming that private vehicles can access every road or that the same service operates throughout the year.
Treat famous hikes as optional, conditional experiences
Angels Landing should never be an automatic item on a first-visit checklist. NPS requires a permit for the Angels Landing hike and describes it as strenuous. [2] A permit does not establish that a route is suitable for your ability or the conditions that day. Review the official details and make an honest decision about exposure, fitness, and the comfort of everyone in the group.
The Narrows also needs a separate decision. Conditions, river status, weather, and flood risk matter more than whether an attractive photograph made the route look straightforward. NPS warns that flash floods can develop rapidly and directs visitors to current safety information. [3] Do not enter a canyon when official advice or conditions make it inappropriate. Choose a different developed walk or an interpretation-focused day instead; there is no need to make a risky activity the centerpiece of the holiday.
Day 4: transfer to Bryce and enjoy a first overlook
Leave time for the transfer and check the current route before departure. Avoid using the travel day for your most ambitious walk at either end. After checking in, choose a developed overlook or a short rim outing suited to the conditions. Bryce’s landscape rewards time spent looking at the patterns and changing colors, rather than repeatedly moving between stops before you have absorbed the view.
Prepare for a different environment from Zion. Bryce is a high-elevation destination, so do not assume that clothing suitable for a warm lower-elevation afternoon will be enough at your next base. Check the local forecast and take the day at a comfortable pace. A simple evening meal and an early night may be more valuable than chasing a second distant sunset location after a tiring transfer.
Day 5: Bryce at your own pace
Use the final morning for a longer look at the amphitheater area or a walk appropriate to your group. The National Park Service offers separate planning ideas for short visits and longer stays, making its visitor page a useful starting point for matching activities to your available time. [4] Check current trail information, including any restrictions, before choosing to descend below the rim.
If you walk downhill, remember that the return involves climbing at elevation. Choose a turnaround point before fatigue sets in, and allow time for rests. A rim-based morning with several developed viewpoints can be just as satisfying. Keep the onward journey realistic and finish the sightseeing early enough to avoid rushing. You should leave Bryce remembering the landscape rather than the pressure of making up lost driving time.
Budget and booking priorities
Allocate the budget to the parts that materially improve the trip: convenient overnight bases, a suitable vehicle, and an optional guided experience if it adds value for your group. Compare entrance passes against the actual parks you will visit and the current rules for the relevant travelers. Do not assume a pass substitutes for an activity permit or an independently sold service.
Pack for varied conditions and keep essential supplies accessible during transfers. Download confirmations, maps, and the route before leaving reliable service. Recheck park alerts each morning rather than relying on yesterday’s information. These habits keep a five-day itinerary adaptable and reduce the chance that one unavailable activity dominates the whole visit. The region offers enough variety that a sensible alternative can still be a highlight.
Frequently asked questions
Can I visit both parks without difficult hikes?
Yes. Build the trip around developed viewpoints, suitable short walks, and interpretation. Review accessibility and current conditions for the exact stops rather than assuming every viewpoint has the same approach.
Are permits and entry passes the same thing?
No. Park admission, shuttle arrangements, particular hiking permits, lodging, and tours are separate items. Use the official source for each activity you plan to book.
What if the weather disrupts a full day?
Move flexible outdoor activities, shorten the plan, or use a safer alternative recommended locally. Avoid treating a reservation or a social-media itinerary as a reason to ignore conditions.
Sources & planning updates
- NPS: Zion visit planning
- NPS: Angels Landing permits and hiking
- NPS: Zion flash floods
- NPS: Bryce Canyon visit planning
Sources reviewed November 3, 2026. Itineraries are editorial suggestions. Recheck official alerts, access rules, opening times, and booking conditions for your travel dates.