
DESTINATION GUIDE · NATIONAL PARKS
Grand Canyon South Rim: A Practical Two-Day Travel Guide
Travel in the USA Editorial · Reviewed November 3, 2026 · 1067 words
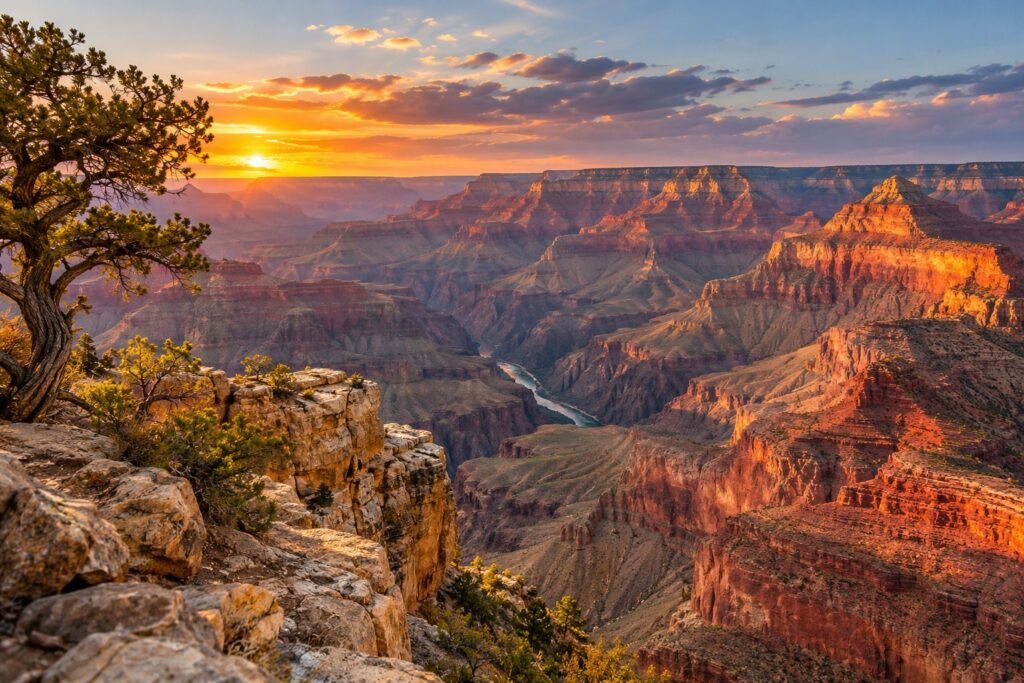
The Grand Canyon South Rim deserves more than a hurried stop between long drives. Two days, with an overnight stay nearby, give you a chance to experience different light, take a measured walk, and appreciate the scale of the landscape without treating the visit as an endurance test. This guide is designed for first-time travelers who want a rewarding introduction. It is not a backcountry hiking plan, and it does not require descending into the canyon to make the trip worthwhile.
Why choose the South Rim for a first visit?
The National Park Service identifies the South Rim as open year-round and provides separate planning information for the North Rim and Grand Canyon Skywalk. These are different destinations with different access arrangements; a booking described simply as a Grand Canyon tour may not take you to the part of the canyon you expect. Read the itinerary and departure location carefully before paying. [1]
The South Rim works well as a focused overnight experience, whether it is the centerpiece of an Arizona trip or part of a wider Southwest itinerary. Choose it because the practical route and time available suit your holiday, not because you feel obliged to add every canyon viewpoint. A modest plan with time to sit and look can be more memorable than an ambitious program spent mostly searching for parking.
Book the overnight stay before fine-tuning the day
Compare lodging inside the park with accommodation in nearby communities. An in-park room may simplify an early start or evening return, while an outside base may offer different room types or prices. Evaluate the complete journey from the property to your intended sightseeing area. A hotel described as near the Grand Canyon can still involve a substantial drive, so check the actual address rather than relying on the destination label.
Reserve a room that allows enough time between arrival and departure. If you are driving a long distance on the first day, avoid paying for an activity that starts shortly after your estimated arrival. Keep dinner plans straightforward. Travelers arriving after dark should have the route and check-in instructions available offline and should not expect to recover missed sightseeing by rushing to an unfamiliar overlook at night.
Day 1: orientation, viewpoints, and an unhurried sunset
Begin with the visitor information available for your arrival day, then choose a short section of rim-side sightseeing. Mather Point and the village area are sensible names to investigate when planning, but the best first stop is the one you can access comfortably under current conditions. Review the official map and transport information before moving between areas. You do not need to visit every viewpoint to understand the canyon’s scale.
After lunch, select either a longer rim walk or another viewpoint area. Keep the late afternoon open for changing light. If sunset matters to you, choose your location early and understand how you will return afterward. Carry a layer and a light appropriate to your plans. Do not move beyond barriers or onto exposed ground in search of a more dramatic photograph. A safe, developed viewpoint provides more than enough spectacle.
Day 2: a walk that matches the whole group
Use the second morning for a walk chosen around the least experienced member of your group. A rim-focused route is a valid main activity, not a lesser alternative to hiking below the edge. Study the route, surface, elevation changes, and available return options before setting out. Allow time for pauses and photographs. Check accessibility information separately if someone uses a mobility aid or needs a predictable surface and gradient.
For any descent, remember that the return requires climbing back out. The National Park Service warns against attempting a rim-to-river-and-back day hike, especially during the hotter months. It also emphasizes that trails into the canyon are not easy. [2] Do not use someone else’s fitness, social-media timing, or a downhill outward pace as evidence that a route is suitable for you. Ask rangers about current conditions and turn around earlier when circumstances require it.
Understand altitude, heat, and changing conditions
The South Rim is a high-elevation destination, not a uniformly hot desert viewpoint. NPS guidance places it around 7,000 feet and highlights the effects of dry conditions and elevation. Its safety advice includes staying on designated walkways, respecting barriers, and maintaining a safe distance from the edge. [3] For trip planning, the key consequence is to avoid making strenuous activity the price of enjoying your visit.
Pack for the forecast and the specific activity rather than a general image of Arizona. Keep drinking water, food, sun protection, and an extra layer accessible. Conditions at the rim and below it can differ substantially. Check the current forecast and park alerts before committing to a walk, and change the plan if heat, ice, storms, or closures make it unsuitable. A paid booking should never overrule a sensible decision to stop or reschedule.
Plan transport and costs as separate decisions
The park’s official planning page links to parking guidance, maps, shuttle information, entrance passes, and current operating conditions. [1] Check those details close to the visit rather than assuming the same service runs throughout the year. When a shuttle route is appropriate, work backward from your intended return time. If you drive, use designated spaces and avoid building the day around finding the closest possible parking spot at every stop.
Budget separately for accommodation, fuel, meals, and park entry. Compare pass options using the actual parks and dates in your itinerary; do not assume one pass covers every operator, activity, or separately managed destination. Bring a simple lunch if that suits your style, but follow local food-storage and waste guidance. The most valuable upgrade is often enough time: an overnight stay can make the visit feel less rushed than adding another paid excursion.
Frequently asked questions
Do I need to hike into the canyon?
No. Viewpoints and rim-side walks can form a complete and rewarding first visit. Choose the experience that matches your group, the weather, and the available time.
Is the Skywalk part of this itinerary?
No. This guide concerns the national park’s South Rim. Check the exact destination and management arrangements for any Skywalk visit or commercial tour before booking.
What should I check the day before arrival?
Review park alerts, road conditions, the forecast, shuttle operations, and your lodging instructions. Verify any entrance-pass or activity requirements through the relevant official provider.
Sources & planning updates
Sources reviewed November 3, 2026. Itineraries are editorial suggestions. Recheck official alerts, access rules, opening times, and booking conditions for your travel dates.