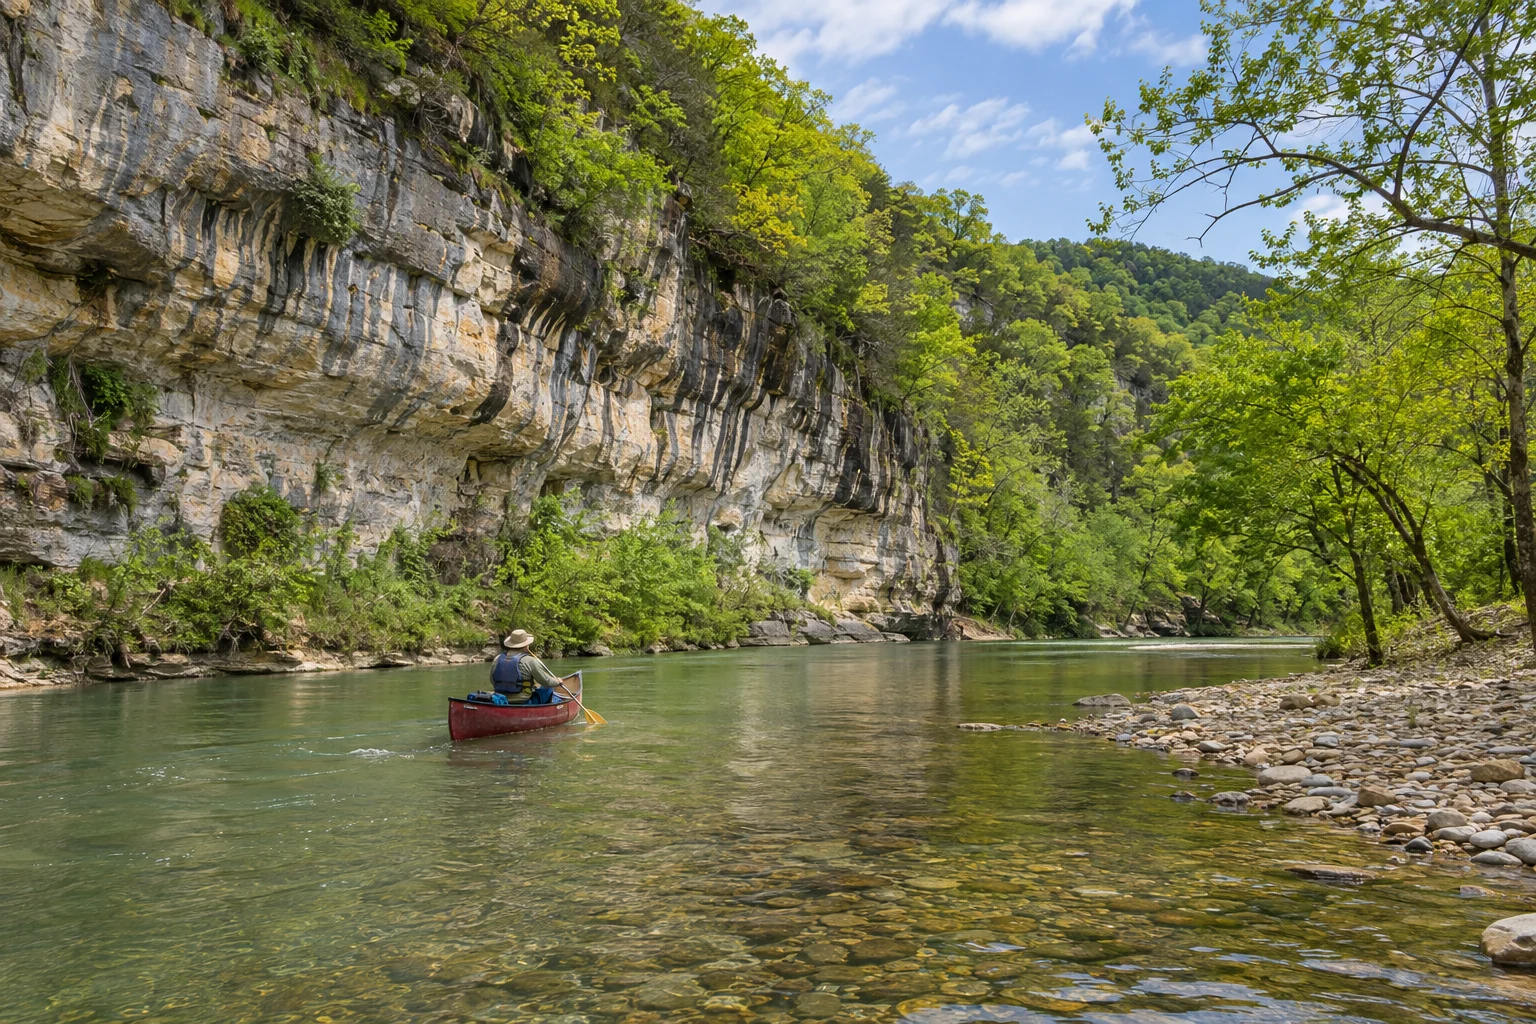
The Buffalo National River in Arkansas can look like several different rivers over the course of a season. A bluff-lined stretch that takes a canoe comfortably after one rain may be too low after a dry spell. High water can make a familiar route unsuitable. The National Park Service describes the river as largely dependent on rainfall, and its paddling guidance separates the upper, middle and lower sections. For a first trip, choose the section with an outfitter after you check the current levels. Then choose a launch, a takeout and a way to get back to your vehicle. The day should work for the least experienced paddler in your group.
Choose the Buffalo River reach before paying for a shuttle
| Decision | How to plan it |
|---|---|
| Put-in and takeout | Write down both access points and confirm the shuttle runs between those exact locations. Ask what happens if the operator recommends a different reach. |
| Day-of river conditions | Check official river information and discuss the reach with your outfitter. Tell them about the least experienced paddler in your group. |
| If you skip the float | Use a land-based plan reachable from your lodging. Compare cancellation terms before booking so that switching plans is straightforward. |
Check the operator’s or destination’s visitor information.
Understand why a river section matters
The upper river is often associated with the spring paddling season. Water availability and difficulty change with rainfall. An upper route that interests a confident whitewater paddler can be a poor introduction for someone who has only been on still lakes. Ask an outfitter whether the reach you are considering suits your group under the actual conditions. Check how far you will be from a road during the trip and whether there are alternative places to exit. The trip description should include what happens between the two access points, not just a mileage and a nice photograph of a bluff.
Middle and lower access points may give you different choices as the season progresses. Their availability also depends on the level, the gauge relevant to the reach and local conditions. Ask which section the outfitter is running and why. If you are traveling in a dry period, verify that there is enough water for the proposed route before making a long drive. Carrying a boat over shallow areas can add time and effort. If it has rained heavily, follow National Park Service warnings and outfitter decisions about unsafe water. A day on land is a good option when conditions are unsuitable.
Choose a reach after checking current conditions
Use the National Park Service paddling page as the starting point, and follow its links to the appropriate river level information. Look for the gauge relevant to your section. A measurement from a different reach can give the wrong impression. Check when the reading was recorded and ask the outfitter what the level means at the launch, along the route and near the takeout. Consider recent rain upstream, forecast rain and whether the level is changing. An outfitter may cancel or change a section even if the day appears pleasant where you are staying.
When you call, describe the party in concrete terms. Say who has paddled moving water, how old the children are and whether anyone has trouble getting in and out of a boat. Ask which boat the operator suggests and what experience is needed. A family wanting time for a picnic may prefer a short itinerary with an early start and a clear finish. A party comfortable with moving water may want a longer section, provided the conditions and time window allow it. Avoid copying another visitor’s route unless you have confirmed it matches your party and the river that day.
Arrange the shuttle and identify the takeout
A typical float is one way. Ask whether your booking includes a shuttle for people, boats, a private vehicle or some combination of those. Find out where to park, where to check in and whether you start at the shop or the river. Two vehicles can give experienced paddlers flexibility, but moving them can add a substantial amount of road time. Read the directions before setting out. A straight line between river accesses may conceal a longer road journey or a slower approach. If you are using a rented vehicle, check that you can take it to the access point safely and under the rental conditions.
At check-in, learn how the takeout is marked and what to do if you pass it or cannot reach it. Keep the operator’s directions available without relying on phone service. Confirm the latest acceptable arrival time and where your pickup will be. Allow for a meal, short rests and equipment return when you schedule an evening appointment. A trip that fits on paper can become longer when wind, shallow stretches or unloading slow the group. A first outing works best when the party has time to finish at its own pace.
Keep the on-water plan simple
Wear correctly fitted life jackets and follow National Park Service safety advice. Secure loose items, carry layers and drinking water, and protect dry gear as directed by the outfitter. Bring only the items you can manage and follow park rules for containers, waste and stops along the river. Agree how the boats will stay together before launching. Ask about any current hazards, where to avoid stopping and where you can take a break without blocking access. Keep the group’s ability to get back in the boat in mind when choosing equipment and stops.
On the river, use the operator’s briefing and keep enough time to deal with a change in conditions. Choose a lunch spot that lets you get back on the water easily and follow any closures or private-property signs. Take photographs from a safe position where you can keep track of your group. A first float can be memorable for the bluff views, the gravel bars and the changing sound of the river. It need not involve the longest stretch available. If your rental includes equipment you have not used, ask how to handle it before you leave the launch.
Keep an alternative day in the Ozarks
Before you travel, look up a public viewpoint, short walk or visitor facility close to where you are staying. Confirm openings, access roads and trail conditions. The river districts are spread out, so choose a substitute that does not require a long drive to the other end of the park. If conditions change after you leave your lodging, call the outfitter before trying another launch independently. A closure, unsuitable river level or shuttle change is a reason to use the backup you planned. The best alternative should be something the group actually wants to do.
Put the booking decisions in order
Find an outfitter near the part of the river you want to visit. Ask it to select an appropriate reach after reviewing conditions and your group’s experience. Then book your equipment, confirm the shuttle and save the launch and takeout instructions. Check the river information again on the morning of the trip. If the water suits the group, keep the route short enough for an unhurried takeout. If it does not, use the land plan and ask when another outing may be possible. That flexibility is part of planning for a free-flowing river in the Ozarks.
Use the right base for your start
Choose lodging by the morning drive to check-in, rather than the name of the river district alone. Ask about breakfast hours, the nearest place to buy lunch supplies and any road you will need to drive early. A cabin that works for one section may be inconvenient for another. If your lodging is fixed, give the operator that address and discuss options before reserving a boat. Leave a copy of your float plan with someone who will remain on land.